 By Jon Wyatt
Mastering pre-wedding waxing isn’t just about hair removal; it’s about delivering a flawless, confidence-boosting experience that brides will cherish, ensuring their special day is picture-perfect from every angle. So, how do you consistently achieve that impeccable finish?
Key Takeaways
- Schedule the primary pre-wedding wax 5-7 days before the event to allow for skin recovery and avoid last-minute issues.
- Always perform a patch test 4-6 weeks prior to the full service using the exact wax and pre/post-care products planned.
- Utilize a high-quality hard wax like Studiolash’s Pearl Hard Wax for sensitive areas and a premium strip wax such as GiGi Honee Wax for larger body regions.
- Educate clients thoroughly on aftercare, emphasizing exfoliation with a product like Bushbalm’s Nude Ingrown Hair Oil and moisturizing daily.
- Maintain precise wax temperature between 120-130°F for hard wax and 105-115°F for strip wax to prevent burns and ensure efficacy.
At my salon, The Golden Hour Esthetics in Midtown Atlanta, we’ve perfected the art of pre-wedding waxing. It’s a specialized service that demands precision, empathy, and a deep understanding of skin physiology. Brides are under immense pressure, and their skin is often more reactive due to stress. This isn’t your everyday bikini wax; it’s a high-stakes beauty ritual.
1. The Initial Consultation: Setting Expectations and Building Trust
The journey begins long before any wax touches skin. For pre-wedding clients, I insist on a detailed consultation at least 6-8 weeks out from the wedding date. This isn’t optional; it’s foundational. During this session, we discuss their waxing history, any skin sensitivities, medications (especially retinoids or antibiotics, which can thin the skin), and their desired outcome. I always ask about their wedding dress style, too – a low-back gown might mean extending the wax to the upper back, for instance. We also establish a clear timeline for their waxing appointments.
Pro Tip: Use a comprehensive intake form. Ours includes questions about recent sun exposure, active skincare ingredients, and even stress levels. This helps us anticipate potential reactions. I also show them photos of ideal results and explain what they can realistically expect. Transparency builds immense trust.
2. The Patch Test: Non-Negotiable Skin Safety
Following the consultation, I schedule a patch test 4-6 weeks before the wedding, ideally at least 24-48 hours before their first full waxing session. This is absolutely critical. We apply a small amount of the exact wax we plan to use (both hard and strip, if applicable) to a discreet area, usually the inner thigh or behind the ear. We also apply the pre-wax cleanser and post-wax oil. This allows us to gauge any adverse reactions – redness, irritation, or bumps – well in advance. I had a client last year, a lovely bride-to-be, who swore she had no sensitivities. The patch test revealed a mild reaction to a specific pre-wax cleanser we used at the time. We switched products, and her full service was flawless. Imagine if we’d skipped that step!
Common Mistakes: Skipping the patch test or using a different wax for the test than for the actual service. The skin’s reaction can be highly specific to product formulations.
3. First Full Waxing Session: The Foundation
The first full pre-wedding waxing appointment should occur 3-4 weeks before the wedding. This allows the hair to grow to an optimal length (about 1/4 inch or 0.6 cm) and gives the skin ample time to recover and adjust. For this session, I typically recommend a full body wax or the areas most crucial for the wedding, like the bikini, underarms, and legs. This isn’t just about hair removal; it’s about getting the client’s hair growth cycle in sync and identifying any areas that might need extra care.
Beach-ready, wedding-ready, anytime-ready skin
Look and feel your best for every occasion. Find a waxing studio near you and book ahead.
Find a Studio Near You →For sensitive areas like the bikini line and underarms, I rely heavily on hard wax. My go-to is Studiolash’s Pearl Hard Wax. Its low melting point and flexible application make it perfect for contouring to the body’s curves, encapsulating hair without adhering strongly to the skin. I heat it to 120-130°F (49-54°C) using a GiGi Wax Warmer on a medium setting. For larger areas like legs and arms, I prefer a premium strip wax, specifically GiGi Honee Wax. It’s effective and gentle. I maintain its temperature between 105-115°F (40-46°C).
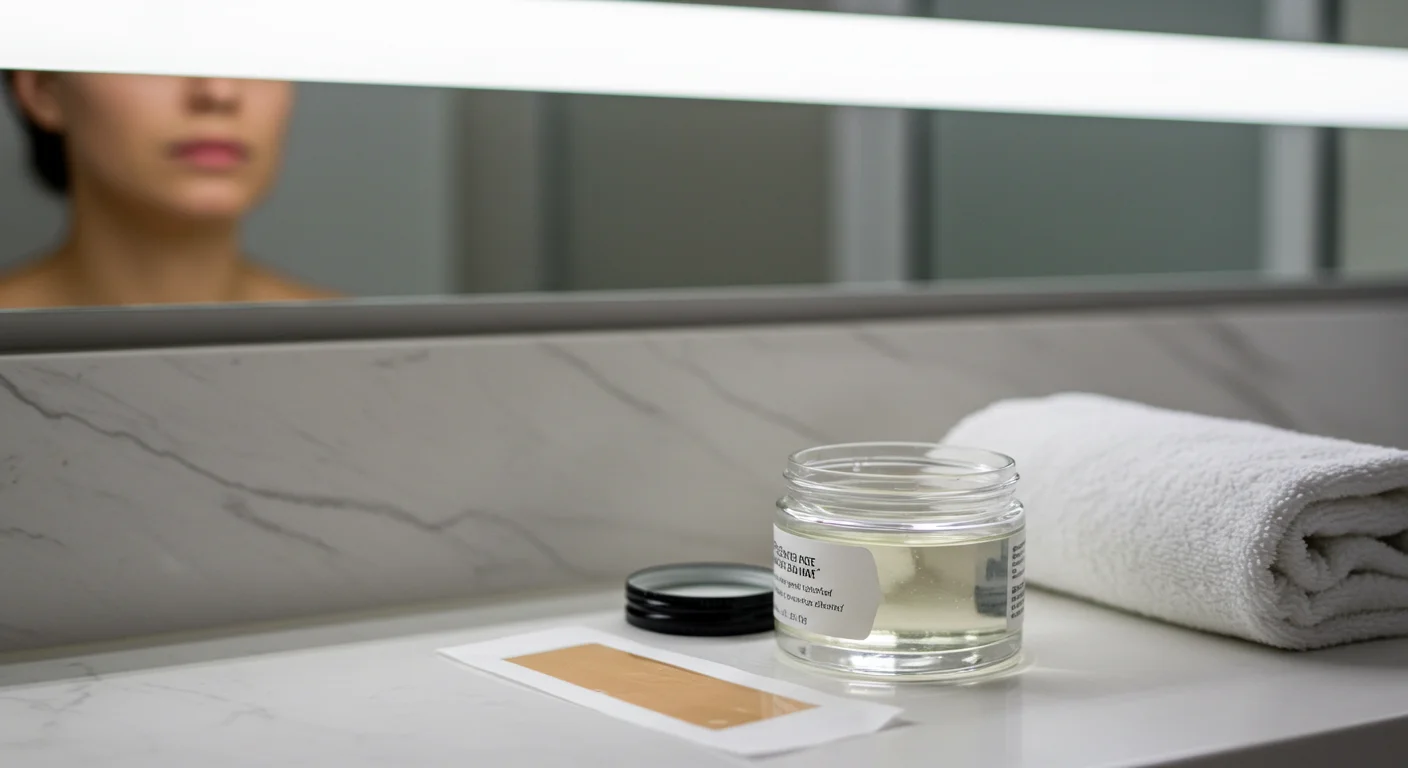
Screenshots Description: Imagine a clean, well-lit waxing room. On a stainless steel cart, a GiGi Professional Wax Warmer is visible, its digital display showing “125°F”. Next to it, a pot of pearlescent hard wax, perfectly melted to a honey-like consistency, and a separate pot of golden strip wax. Disposable wooden spatulas are neatly arranged, and a bottle of GiGi Pre-Hon Cleanser stands ready.
4. Client Education: The Power of Aftercare
After each session, especially the first, client education is paramount. I provide a detailed aftercare sheet and verbally walk them through it. The focus is on preventing ingrown hairs, soothing the skin, and maintaining hydration. I recommend a gentle exfoliation regimen starting 2-3 days post-wax, using either a mild physical exfoliant like a soft loofah or a chemical exfoliant with salicylic acid. My absolute favorite product for preventing ingrowns is Bushbalm’s Nude Ingrown Hair Oil – I tell every client to get it. Daily moisturizing with a fragrance-free lotion is also crucial. I emphasize avoiding hot baths, saunas, tight clothing, and direct sun exposure for 24-48 hours. Seriously, this aftercare routine is half the battle; without it, even the best wax can lead to problems.
Pro Tip: Recommend specific products. Don’t just say “exfoliate”; suggest a product you trust and can even retail in your salon. This adds value and ensures they use something effective.
5. The Final Waxing Session: The Grand Finale
The final pre-wedding wax should be scheduled 5-7 days before the wedding date. This timing is crucial. It allows any residual redness or minor irritation to completely subside, ensuring the skin is smooth and calm for the big day. Any closer, and you risk visible irritation; any further out, and you risk noticeable regrowth. We focus on touch-ups and ensuring every last stray hair is gone. I often use a smaller, more precise spatula and even tweezers for any stubborn fine hairs. This session is all about perfection.
Case Study: Achieving Bridal Smoothness for Sarah M.
Last year, Sarah M., a bride from Buckhead, came to us seeking a flawless full-body wax for her October wedding at The Estate on Piedmont. She had never had professional waxing before, so we started her journey 10 weeks out. Our initial consultation (Step 1) identified her primary concerns: sensitive skin and a fear of ingrowns. We performed a patch test (Step 2) 8 weeks out, which showed no adverse reactions to GiGi All Purpose Honee Wax and Studiolash’s Pearl Hard Wax. Her first full waxing session (Step 3) was 6 weeks before the wedding, focusing on legs, arms, underarms, and a full bikini. We used hard wax for bikini/underarms and strip wax for legs/arms. Total service time: 90 minutes. Post-wax, she received Bushbalm’s Nude Ingrown Hair Oil and detailed aftercare instructions (Step 4). She followed them diligently, exfoliating every other day and moisturizing twice daily. Her second session was 3 weeks out, a quick touch-up. Her final session (Step 5) was precisely 6 days before her wedding. This was a meticulous 45-minute appointment, ensuring every area was perfectly smooth. On her wedding day, she sent us a glowing review, saying her skin felt “incredibly soft and confident” – exactly what we aim for.
6. Post-Wax Soothing and Final Checks
Immediately after the final wax, I apply a soothing product. My favorite is GiGi Post Wax Cooling Gel, which contains cucumber and aloe vera. I apply it generously, ensuring the skin is calm and hydrated. I then do a thorough visual inspection under bright light, sometimes even using a magnifying lamp, to catch any tiny hairs or areas needing extra attention. I also gently press a cool compress to any areas that show lingering redness. This final step is about leaving no stone unturned in the pursuit of perfection.
Common Mistakes: Rushing the post-wax care or not doing a final, meticulous check. A hurried finish can undo all the careful work that preceded it.
7. Reinforcing Aftercare for the Wedding Day and Beyond
Before the client leaves, I reiterate the aftercare instructions, specifically tailored for the days leading up to the wedding. I remind them to avoid harsh soaps, excessive scrubbing, and sun exposure. I also suggest they pack a small bottle of Bushbalm Nude Oil in their emergency kit for the wedding day, just in case. A well-hydrated and calm skin is a happy skin, and that’s crucial for looking radiant in wedding photos. I also tell them to avoid any new lotions or perfumes on the waxed areas in the 24 hours before the wedding to prevent unexpected reactions. Trust me, the last thing anyone wants is a surprise rash on their big day.
Providing exceptional pre-wedding waxing services is about more than just technique; it’s about a holistic, client-centered approach that prioritizes safety, comfort, and flawless results. By following these steps, professionals can consistently deliver the confidence and radiance every bride deserves. For more insights on ensuring a smooth experience, consider reading about how to avoid waxing fails in 2026. Understanding waxing timing secrets can also greatly enhance client satisfaction, especially for those planning their beauty regimen around significant events.
How far in advance should a bride get her first pre-wedding wax?
The first full waxing session should be scheduled 3-4 weeks before the wedding date. This allows for initial hair removal, skin adjustment, and recovery time, setting the stage for the final touch-up closer to the event.
What is the ideal timing for the final pre-wedding wax?
The final pre-wedding wax should be performed 5-7 days before the wedding. This window ensures any redness or minor irritation has completely subsided, leaving the skin perfectly smooth and calm for the wedding day photos and celebrations.
Why is a patch test so important for pre-wedding clients?
A patch test is crucial because it identifies potential allergic reactions or sensitivities to waxing products (wax, pre-cleanser, post-oil) well in advance. Performing it 4-6 weeks before the wedding prevents unexpected skin issues on or immediately before the big day, allowing time to adjust products if needed.
What are the most effective aftercare tips for preventing ingrown hairs after a pre-wedding wax?
To prevent ingrown hairs, clients should begin gentle exfoliation 2-3 days post-wax using a soft physical scrub or a chemical exfoliant with salicylic acid, like Bushbalm’s Nude Ingrown Hair Oil, and moisturize daily with a fragrance-free lotion. Avoiding tight clothing and excessive heat for 24-48 hours is also vital.
What specific wax types and temperatures are recommended for pre-wedding services?
For sensitive areas like the bikini and underarms, a high-quality hard wax (e.g., Studiolash’s Pearl Hard Wax) heated to 120-130°F (49-54°C) is ideal. For larger body areas such as legs, a premium strip wax (e.g., GiGi Honee Wax) maintained between 105-115°F (40-46°C) provides effective and gentle hair removal.


