 By Jon Wyatt
Key Takeaways
- Always conduct a thorough client consultation, including a patch test, at least 4-6 weeks before the wedding date to identify sensitivities and manage expectations effectively.
- Master the art of selecting the correct wax type—hard wax for sensitive areas and coarse hair, soft wax for larger body parts—and maintain precise temperature control for client comfort and optimal hair removal.
- Implement a strict post-waxing aftercare protocol, including the application of soothing agents like hydrocortisone cream and recommending specific at-home products to prevent ingrown hairs and irritation.
- Develop a clear, multi-stage booking and communication strategy that includes reminder texts and a pre-waxing prep guide sent 7-10 days prior to the appointment.
- Regularly update your professional insurance and sanitation certifications, ensuring your practice adheres to the latest industry standards and provides a safe environment for every client.
As a seasoned esthetician specializing in bridal beauty, I’ve seen firsthand how meticulous planning for pre-wedding waxing can transform a bride’s confidence on her big day. This isn’t just about hair removal; it’s about crafting an experience that leaves clients feeling flawlessly smooth and utterly radiant. But what truly sets a professional apart in this delicate niche?
1. The Non-Negotiable Consultation: Setting the Stage for Success
Before any wax touches skin, a comprehensive consultation is paramount. For bridal clients, I schedule this 4-6 weeks out from their wedding. This isn’t a quick chat; it’s a deep dive into their skin history, allergies, medications, and previous waxing experiences. I always use a detailed intake form, like the one provided by the National Coalition of Estheticians, Manufacturers/Distributors & Associations (NCEA) Client Intake Form, which covers everything from retinoid use to recent sun exposure.
Pro Tip: Always perform a small patch test during this initial consultation, especially for first-time clients or those with known sensitivities. I typically use a dime-sized amount of wax on an inconspicuous area, like the inner thigh or behind the ear, and instruct them to monitor it for 24-48 hours. This catches potential reactions well in advance of their main appointment.
Common Mistakes:
Skipping the patch test or rushing the consultation. I once had a client, Sarah, who insisted she was fine because she’d been waxed before. We skipped the patch test. Turns out, her new birth control made her skin incredibly sensitive, and she developed a nasty rash after her full leg wax. Lesson learned: never assume. Her wedding was two weeks away, and we spent that time doing damage control. The stress was immense for both of us.
2. Strategic Scheduling: Timing is Everything
For pre-wedding waxing, timing is absolutely critical. I recommend the final waxing appointment be scheduled no less than 3-5 days before the wedding date. This allows any redness or minor irritation to subside completely. For areas like the face or bikini, where sensitivity is higher, I push this to 5-7 days.
I also schedule a “trial run” wax 4-6 weeks before the wedding, coinciding with our initial consultation. This helps gauge hair growth cycles, skin reaction, and allows the client to experience the process without the immediate pressure of the wedding. It also gives me a chance to identify any stubborn hairs or areas that might need extra attention.
Screenshot Description: Imagine a screenshot of my online booking system, displaying a client’s profile with recurring appointments: “Consultation & Patch Test (4 weeks out),” “Trial Wax (3 weeks out),” and “Final Wax (5 days out).” Each appointment is color-coded for easy identification.
3. Mastering Wax Selection and Temperature Control
The type of wax used is not a one-size-fits-all decision, especially for bridal clients. My go-to brands are Cirepil Hard Wax for sensitive areas like the bikini, underarms, and face, and Lycon Strip Wax for larger areas like legs and arms.
Beach-ready, wedding-ready, anytime-ready skin
Look and feel your best for every occasion. Find a waxing studio near you and book ahead.
Find a Studio Near You →For hard wax, I use the Cirepil Warmer, maintaining a consistent temperature between 105-115°F (40-46°C). This ensures the wax is pliable enough to encapsulate the hair effectively without being too hot for the skin. For strip wax, my Lycon Professional Wax Heater is typically set to 120-130°F (49-54°C). I always perform a temperature check on my wrist before applying to the client. This might seem basic, but it’s a non-negotiable safety step that prevents burns and builds client trust. I’ve heard horror stories from new estheticians who didn’t respect this and caused serious burns.
Pro Tip:
For clients with extremely coarse hair or those prone to ingrowns, I often incorporate a pre-waxing oil like Perron Rigot Pre-Waxing Oil. This creates a barrier between the wax and the skin, reducing adhesion to the skin itself and minimizing discomfort and irritation. It’s a small step that makes a huge difference in the client experience and outcome.
4. Precision Application and Removal Techniques
Technique is where artistry meets science. For hard wax, I apply it against the direction of hair growth, creating a slightly thicker edge for easy removal. The key is to let it cool and set for just the right amount of time—usually 15-30 seconds, depending on the room temperature and wax thickness—until it’s no longer tacky but still flexible. Then, I hold the skin taut and remove it quickly, parallel to the skin, against the direction of hair growth.
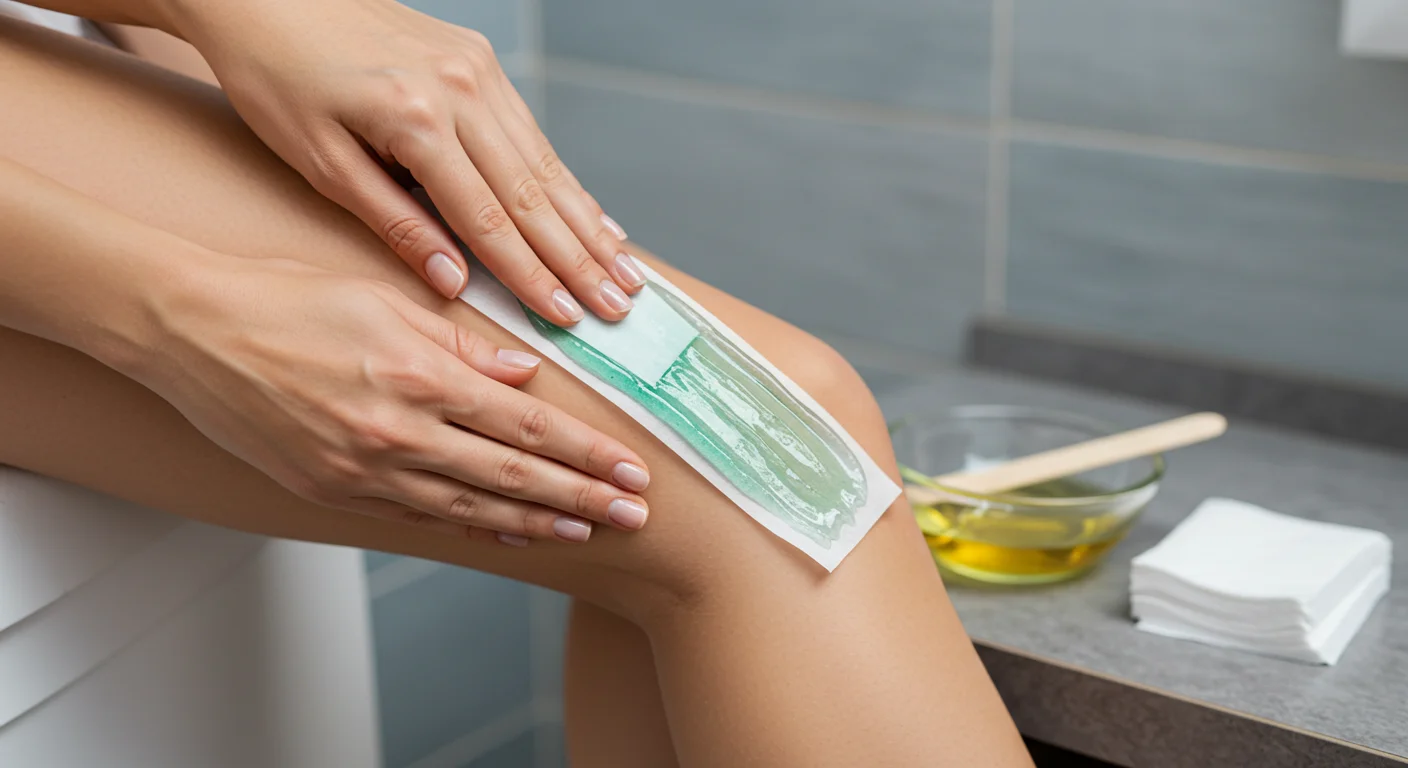
For strip wax, a thin, even layer is applied with a spatula in the direction of hair growth. I then press a non-woven strip firmly onto the wax, ensuring good adhesion, and remove it quickly against the direction of hair growth, again keeping the skin taut.
Screenshot Description: A close-up, high-quality image demonstrating the correct hard wax application technique on a model’s underarm, showing a clean, slightly thick wax edge. Another image shows the proper skin-tautening technique just before strip wax removal on a leg.
Common Mistakes:
Pulling upward instead of parallel to the skin, which can cause bruising or lift the skin. Also, applying wax too thickly (for strip wax) or too thinly (for hard wax) compromises its effectiveness and increases pain. Another big error is not holding the skin taut enough; this is crucial for minimizing discomfort and preventing skin tearing. For more detailed information on avoiding common mishaps, consider our article on 5 Mistakes to Avoid in 2026 when waxing before an event.
5. Soothing Aftercare and Ingrown Hair Prevention
Immediately after waxing, I apply a soothing product. My current favorite is Finipil Lait 50, a professional antiseptic cream that minimizes redness, protects against ingrown hairs, and slows down hair regrowth. For areas prone to sensitivity, like the bikini line, I might follow with a thin layer of 0.5% hydrocortisone cream if the client has no contraindications.
For at-home care, I provide each bridal client with a customized aftercare sheet. This includes:
- No hot showers, baths, or saunas for 24-48 hours.
- Avoid tight clothing for 24 hours.
- Gentle exfoliation starting 2-3 days post-waxing. I recommend a mild physical exfoliant like a natural loofah or a chemical exfoliant such as PFB Vanish Chromabright, which contains salicylic acid and glycolic acid to prevent ingrowns and brighten skin.
- Moisturizing daily. Hydrated skin leads to healthier hair growth and fewer ingrowns.
According to a study published in the Journal of Clinical and Aesthetic Dermatology Management of Pseudofolliculitis Barbae, consistent exfoliation and moisturizing are key to preventing pseudofolliculitis barbae (razor bumps/ingrown hairs), a common post-waxing complaint.
6. Communication and Follow-Up: The Client Journey
My approach to client communication is multi-layered. After the initial consultation, I send a personalized email summarizing our discussion and confirming all appointments. One week before each wax, clients receive an automated text message reminder and a “Pre-Waxing Prep Guide” via email. This guide reiterates things like avoiding caffeine, exfoliating, and ensuring adequate hair length (typically ¼ inch).
Post-waxing, I always send a follow-up email 24-48 hours later, checking in on their skin and reminding them of aftercare. I also offer a complimentary 15-minute virtual consultation if they have any concerns. This proactive approach not only builds loyalty but also catches potential issues before they become major problems. It’s about showing you care beyond the treatment room. I had a bride, Jessica, last year who was incredibly anxious. Her skin was reacting slightly more than usual after her trial wax. My quick follow-up and virtual check-in allowed me to recommend a specific soothing balm, which completely calmed her skin before the big day. She told me later that my attentiveness made all the difference to her peace of mind. This client-centric approach is vital for all event beauty planning.
Case Study: Emily’s Bridal Waxing Journey
Emily booked her wedding for October 12, 2026.
- August 1, 2026: Initial Consultation & Patch Test. Discussed her history of sensitive skin and tendency for ingrowns. Used Cirepil Hard Wax on a small area of her inner thigh.
- August 4, 2026: Follow-up call. Patch test showed no adverse reaction.
- August 22, 2026 (7 weeks out): Trial Full Bikini & Underarm Wax. Used Cirepil Hard Wax exclusively. Post-wax, applied Finipil. Recommended daily exfoliation with PFB Vanish Chromabright and moisturizing with a gentle, fragrance-free lotion.
- August 24, 2026: Follow-up email. Emily reported minimal redness, no ingrowns.
- October 7, 2026 (5 days out): Final Full Bikini & Underarm Wax. Used same protocol. Skin was already accustomed to waxing, resulting in less discomfort and redness. Applied Finipil and a thin layer of 0.5% hydrocortisone cream.
- October 9, 2026: Follow-up text. Emily confirmed her skin was smooth, calm, and ready for her wedding day.
This structured approach ensured Emily felt confident and beautiful, with zero last-minute skin emergencies. The total time commitment from me was about 3 hours of actual waxing and consultation, plus approximately 30 minutes of communication. The outcome? A delighted bride and a glowing referral.
For professionals, providing exceptional pre-wedding waxing services demands more than just skill; it requires a meticulous, client-centric process that anticipates needs and proactively addresses concerns. By adhering to these steps, you not only deliver flawless results but also cultivate unwavering trust and loyalty, ensuring your bridal clients walk down the aisle feeling utterly radiant. This meticulous planning is key to avoiding common issues like event waxing stress factors.
What is the ideal hair length for pre-wedding waxing?
The ideal hair length for effective waxing is approximately ¼ inch (about the size of a grain of rice). This usually translates to 2-3 weeks of growth after shaving, or 4-6 weeks after a previous wax. Hair that is too short won’t adhere properly to the wax, and hair that is too long can make the process more painful and less efficient.
How can I minimize pain for my bridal clients during waxing?
Minimizing pain involves several strategies: ensuring hair is the correct length, using high-quality wax appropriate for the area (e.g., hard wax for sensitive zones), maintaining precise wax temperature, applying pre-waxing oil, and employing correct skin-tautening and removal techniques. Additionally, advising clients to avoid caffeine and alcohol before their appointment, and suggesting they take an over-the-counter pain reliever like ibuprofen about 30-45 minutes prior, can significantly reduce discomfort.
What should bridal clients avoid before their waxing appointment?
Clients should avoid sun exposure or tanning beds for at least 48 hours prior, as sunburned skin is extremely sensitive and prone to lifting. They should also discontinue retinoids or strong exfoliants on the area for 5-7 days before their wax. Heavy moisturizing the day of the appointment can also interfere with wax adhesion. Caffeine and alcohol can increase skin sensitivity, so it’s best to avoid them.
How do I handle a client who experiences an adverse reaction after waxing?
If a client experiences an adverse reaction like excessive redness, bumps, or itching, first, instruct them to apply a cold compress to the affected area. Recommend a topical soothing agent, such as aloe vera or a mild hydrocortisone cream (0.5%). Advise them to avoid picking or scratching. If symptoms persist or worsen after 24-48 hours, or if there are signs of infection, they should consult a doctor. Always document the incident thoroughly for your records and professional insurance purposes.
Can I wax over tattoos for a bridal client?
Yes, you can generally wax over healed tattoos. The process of waxing exfoliates the top layer of skin, which can actually make the tattoo appear brighter and more vibrant. However, it’s crucial to ensure the tattoo is fully healed – typically 4-6 weeks after application, but sometimes longer. Never wax over a fresh, unhealed, or scabbing tattoo, as this can cause damage and infection. Always perform a patch test on a small, inconspicuous part of the tattooed area if the client has never been waxed over it before.


