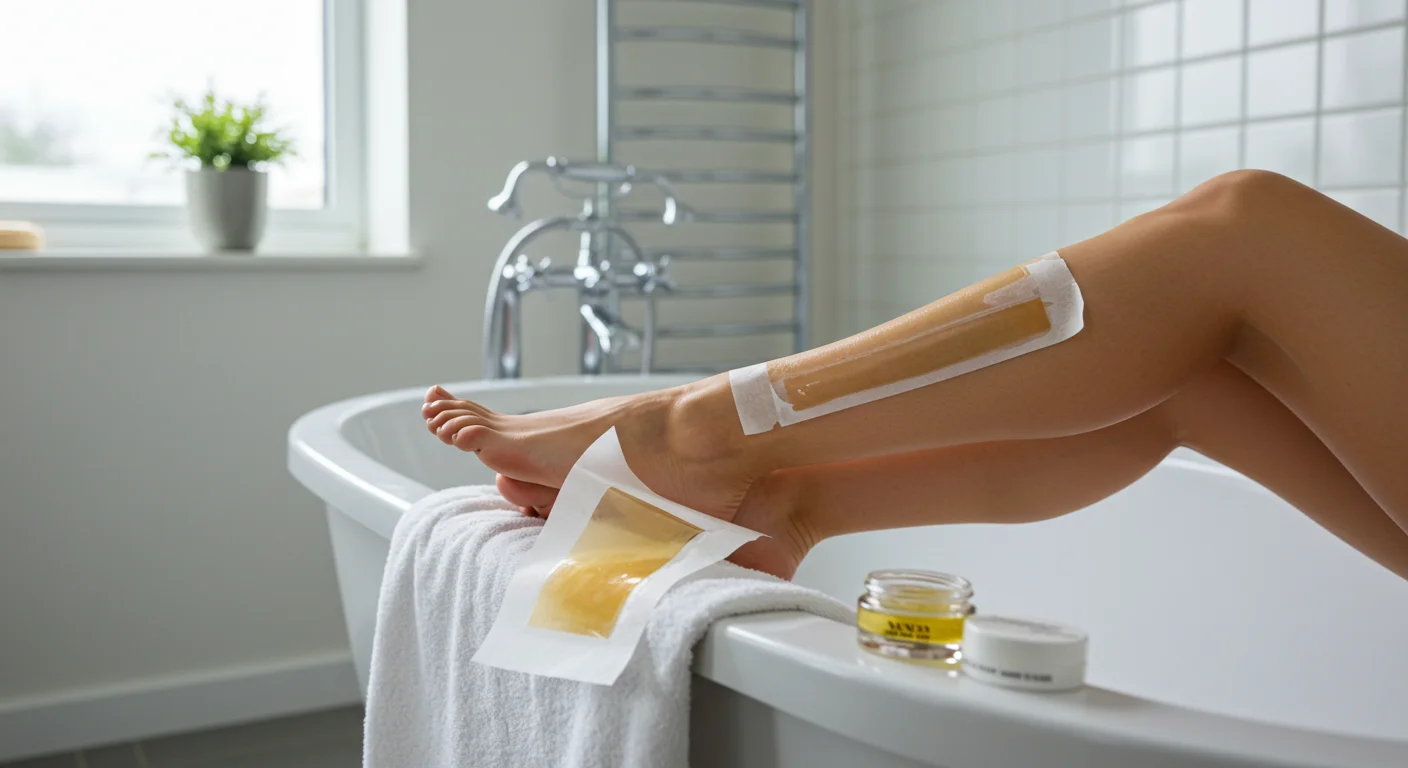
 By Jon Parker
As a seasoned esthetician with over 15 years in the business, I’ve seen countless trends come and go, but one constant remains: the desire for smooth, confident skin, especially when those summer months roll around. Getting started with beach ready waxing isn’t just about hair removal; it’s about preparation, precision, and understanding your skin’s unique needs. Forget those last-minute, panicked appointments; true beach readiness begins with a strategic approach, ensuring you step onto the sand feeling your absolute best. Ready to discover the secrets to a flawless finish?
Key Takeaways
- Schedule your waxing appointment 3-5 days before your event for optimal results and reduced sensitivity.
- Exfoliate gently but thoroughly 24-48 hours prior to waxing using a physical or chemical exfoliant.
- Choose between hard wax for sensitive areas and coarse hair, and soft wax for larger areas and fine to medium hair.
- Aftercare is critical: apply a soothing balm like pure aloe vera or a hydrocortisone cream for the first 24 hours.
- Maintain your results with daily moisturizing and regular exfoliation starting 48 hours post-wax.
1. Understand Your Hair Growth Cycle and Schedule Strategically
This is where most people go wrong. They book a wax the day before a big event, then wonder why they’re red, bumpy, or still have some stubborn stragglers. The hair growth cycle isn’t a suggestion; it’s a biological fact, and understanding it is the cornerstone of effective waxing. Hair grows in three main phases: anagen (active growth), catagen (transitional), and telogen (resting). For waxing to be most effective, you want to catch the hair in its anagen phase, when it’s firmly attached to the root.
We typically recommend a hair length of about 1/4 inch (6mm) – roughly the size of a grain of rice – for optimal grip. This usually means letting hair grow for 3-4 weeks between waxing sessions. If your hair is too short, the wax won’t grab it effectively, leading to patchy results and frustration. Too long, and it can be more painful and less efficient. So, if you’re aiming for that flawless beach look, plan your first wax at least a month out from when you last shaved or removed hair.
For your actual “beach ready” appointment, I always advise clients to schedule it 3 to 5 days before the event. This allows any redness or sensitivity to completely subside, giving your skin time to recover and look its absolute best. Trust me, nobody wants to show up to the beach with fresh wax irritation!

Pro Tip: The Consultation is Key
A good esthetician will always start with a thorough consultation. Don’t be afraid to discuss your skin type, any sensitivities, medications you’re taking (especially retinoids or antibiotics, which can thin the skin), and your desired outcome. I’ve had clients come in worried about hyperpigmentation or ingrown hairs from previous experiences, and a detailed chat helps us tailor the best approach. We once had a client at my studio, “Coastal Glow Waxing” in Santa Monica, who was using a topical acne medication she hadn’t mentioned. If we hadn’t asked, she could have experienced significant skin lifting. Always be upfront!
2. Prepare Your Skin for Success: Exfoliation and Hydration
Proper skin preparation is non-negotiable for a smooth, less painful waxing experience and to prevent common post-wax issues like ingrown hairs. Think of it as priming a canvas before painting; you want it clean, smooth, and ready to accept the product.
24-48 hours before your appointment, gently exfoliate the area you plan to wax. This removes dead skin cells that can trap hair and lead to ingrowns. I’m a big proponent of a two-pronged approach: a mild physical exfoliant followed by a chemical one. For physical exfoliation, something like the Tree Hut Shea Sugar Scrub is excellent – just make sure it’s not too abrasive. For chemical, a product with salicylic acid or glycolic acid, like The Ordinary’s Glycolic Acid 7% Toning Solution, applied with a cotton pad, works wonders. Just don’t overdo it; you’re aiming for smooth, not raw.

On the day of your wax, ensure your skin is clean and dry. Avoid applying any lotions, oils, or deodorants to the area. These can create a barrier, preventing the wax from adhering properly, which means more pulling and less effective hair removal. A quick shower with a gentle, pH-balanced cleanser like Cetaphil Gentle Skin Cleanser is perfect.
Beach-ready, wedding-ready, anytime-ready skin
Look and feel your best for every occasion. Find a waxing studio near you and book ahead.
Find a Studio Near You →Common Mistake: Over-Exfoliating or Not Exfoliating at All
Many clients either skip exfoliation entirely, leading to more ingrowns, or they go too hard, irritating the skin before the wax even begins. Remember, gentle is key. If your skin is red or sensitive from exfoliation before your appointment, you’ve gone too far. And never exfoliate on the same day as your wax; give your skin that 24-48 hour window to recover.
3. Choose Your Weapon: Hard Wax vs. Soft Wax
The type of wax used is paramount to your experience and results. As a professional, I always have both LYCON hard wax and soft wax on hand because they serve different purposes. Understanding the difference empowers you to ask the right questions at your salon or make informed choices if you’re attempting a very careful at-home job (though I generally recommend professional services for anything beyond legs!).
Hard Wax (Stripless Wax): This wax is applied warm, allowed to cool and harden, and then removed by the esthetician’s hand without a strip. It adheres only to the hair, not the skin, making it ideal for sensitive areas like the bikini line, underarms, and face. It’s also fantastic for coarse, stubborn hair. The temperature is usually around 104-113°F (40-45°C). The main benefit? Less irritation and pain, especially for repeat clients. I almost exclusively use hard wax for Brazilian waxes; it’s simply superior for those delicate regions.
Soft Wax (Strip Wax): This wax is applied thinly and removed with a cloth or paper strip. It adheres to both the hair and the top layer of dead skin cells. This makes it excellent for larger areas like legs, arms, and back, where the skin is less sensitive and the hair is generally finer or medium. The temperature is typically slightly lower, around 98-102°F (37-39°C). While it’s efficient for large areas, it can be more irritating for sensitive skin types, as it exfoliates more aggressively.

Pro Tip: Ask About Wax Quality
Don’t be shy about asking your esthetician what kind of wax they use. High-quality waxes, often infused with soothing ingredients like chamomile, lavender, or tea tree oil, can make a huge difference in comfort and post-wax skin condition. Cheap wax can lead to breakage, skin lifting, and more pain. It’s an investment in your skin!
4. The Waxing Process: What to Expect
If you’re new to waxing, the process can seem intimidating, but knowing what’s coming can ease your nerves. I’ve guided countless first-timers through this, and transparency is always best.
First, your esthetician will cleanse the area thoroughly with an antiseptic solution to remove any surface oils or bacteria. This is crucial for hygiene and wax adherence. Next, a pre-wax oil or powder might be applied. For hard wax, a thin layer of pre-wax oil (like Starpil Pre-Wax Oil) creates a barrier, ensuring the wax only grabs the hair. For soft wax, a light dusting of powder can absorb excess moisture.
The wax will then be applied in small sections, always in the direction of hair growth. The esthetician will then quickly remove it against the direction of hair growth, keeping the skin taut. This swift motion minimizes discomfort and ensures efficient hair removal. We usually work in manageable sections, especially for more intimate areas, to control the process and your comfort. For instance, a typical Brazilian wax at my salon, “The Smooth Sanctuary” in downtown Atlanta, involves 15-20 individual strips of hard wax, each removed with precision and care.

After all hair is removed, any residue will be cleaned off, and a soothing after-wax product will be applied. This could be an aloe vera gel, a calming oil, or a hydrocortisone cream to reduce redness and inflammation. We use Pure Skin Lab’s Post-Wax Calming Balm, which contains tea tree oil and chamomile, for its anti-inflammatory properties.
Case Study: The First-Timer’s Success Story
Last spring, a client named Sarah came to us, desperate for a smooth bikini line for a last-minute trip to St. Simons Island. She had always shaved and was terrified of waxing. We scheduled her for a full bikini wax (hard wax) 5 days before her departure. During her consultation, she expressed concerns about pain and ingrowns. We explained the entire process, recommended she take an ibuprofen 30 minutes prior, and emphasized aftercare. Post-wax, we applied a soothing hydrocortisone cream and sent her home with detailed instructions for daily moisturizing and exfoliation. When she returned for her next appointment, she raved about how smooth her skin had been, with zero ingrowns, and how much more confident she felt on the beach. Her initial fear had turned into pure satisfaction, and she’s been a regular ever since.
5. Crucial Aftercare for Lasting Smoothness
Your job isn’t done when you leave the salon chair; aftercare is arguably just as important as the waxing itself. Neglecting it can lead to irritation, ingrown hairs, and a shorter period of smoothness. For the first 24-48 hours post-wax, your skin is particularly vulnerable.
- Avoid heat: No hot showers, saunas, steam rooms, or vigorous exercise. Heat can irritate the freshly waxed follicles and lead to bumps.
- No tight clothing: Opt for loose, breathable fabrics like cotton to prevent friction and allow skin to breathe.
- No harsh products: Steer clear of fragranced lotions, self-tanners, or anything with active ingredients like retinoids or AHAs/BHAs for at least 48 hours.
- Soothe and hydrate: Apply a pure aloe vera gel or a fragrance-free, calming lotion. If you experience significant redness or bumps, a mild hydrocortisone cream (0.5-1%) can be very effective for the first day or two.
After the initial 48 hours, reintroduce gentle exfoliation 2-3 times a week to prevent ingrown hairs. A loofah, exfoliating mitt, or a salicylic acid body wash are all good choices. Crucially, moisturize daily. Hydrated skin is more supple, allowing new hair to grow through without getting trapped under the surface. I personally recommend CeraVe Moisturizing Cream for its non-comedogenic and hydrating properties.

Common Mistake: Forgetting to Exfoliate Regularly
This is the number one reason clients come back with ingrown hairs. They get a great wax, but then neglect the follow-up. Consistent, gentle exfoliation is the secret weapon against ingrowns. It literally lifts the dead skin cells that block hair follicles, allowing the new hair to grow out freely.
Achieving truly beach ready waxing is a blend of thoughtful preparation, professional execution, and diligent aftercare. By following these steps, you’re not just removing hair; you’re cultivating healthy, smooth skin that will feel amazing and look fantastic under the sun. Embrace the process, commit to your aftercare, and you’ll step onto that beach with undeniable confidence.
How long does waxing last?
Typically, results from waxing last anywhere from 3 to 6 weeks, depending on your individual hair growth cycle and how consistently you wax. Over time, hair tends to grow back finer and sparser.
Does waxing hurt?
Yes, waxing can be uncomfortable, especially for first-timers or in sensitive areas. The pain is usually momentary. Many clients find that regular waxing reduces discomfort as hair grows back finer and the skin becomes accustomed to the process. Taking an over-the-counter pain reliever like ibuprofen 30 minutes before your appointment can help.
Can I wax if I’m pregnant?
Yes, most pregnant individuals can safely wax. However, hormonal changes during pregnancy can make your skin more sensitive, so you might experience increased discomfort. Always inform your esthetician that you are pregnant, and consult with your doctor if you have any concerns.
What should I do if I get ingrown hairs?
For ingrown hairs, avoid picking or squeezing, which can lead to infection and scarring. Instead, use an ingrown hair serum containing salicylic or glycolic acid (like Tend Skin Solution) and continue gentle exfoliation. If an ingrown becomes painful, red, or develops pus, consult a dermatologist.
How often should I get waxed for optimal results?
For the best results and to get your hair on a consistent growth cycle, aim to wax every 4 to 6 weeks. This timing allows the hair to be long enough for effective removal but not so long that the process becomes overly painful.


